Setting up WordPress hosting with Cloudways takes a couple of clicks. It’s extremely simple, even for non-techie users. Trust me, it’s a lot easier than trying to setup WordPress in DigitalOcean (not to mention a lot more secure if you’re not an expert!).
In this quick guide, I’ll go through the setup process for a new WordPress website.
If you’ve already got a WordPress website and you want to move hosts, follow this guide on how to move your WordPress website to Cloudways instead.
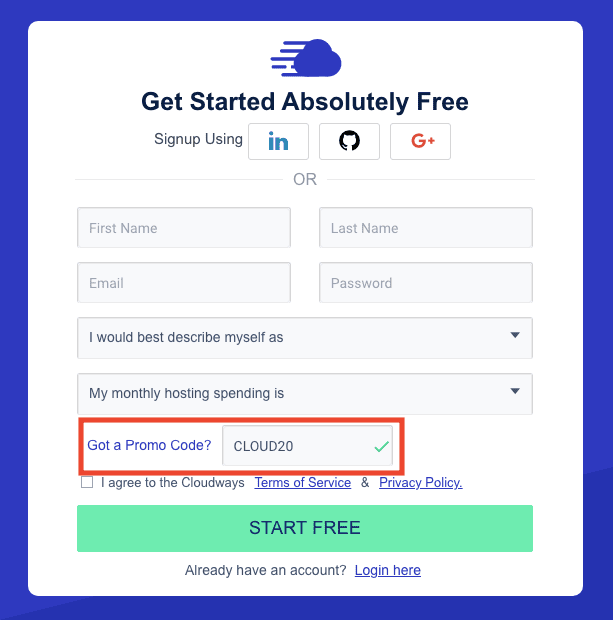
If you’re not already a Cloudways customer, you can sign up now for a free trial (no credit card required). Don’t forget to use a coupon code for extra savings (CLOUD20 will give you 20% off for 3 months).
Table of Contents
Step 1: Choose a new server
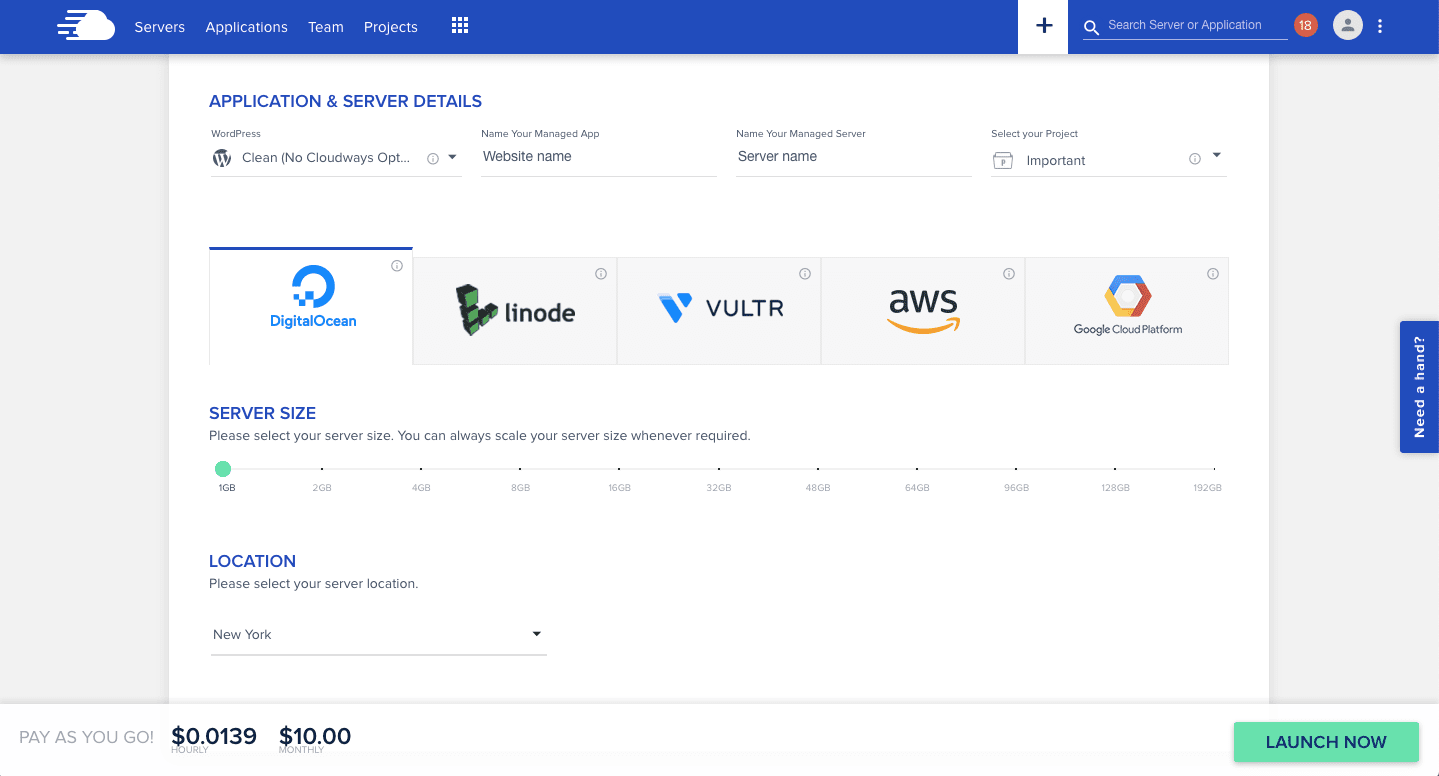
Step 2: Select the WordPress setup you require
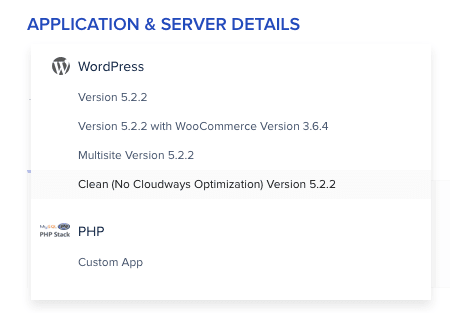
I prefer “Clean” because it has no pre-installed plugins and you can add any you need later.
Cloudways will now build your new server and WordPress installation – it should take a few minutes.

Step 3: Add your domain name and free SSL certificate
At the moment, your new WordPress website will have a temporary Cloudways URL, like wordpress-123456789.cloudways.com. You will also get a WordPress admin username and password. You can log into the fresh WordPress site using the username and password provided – this can be done even before you use a custom domain name.
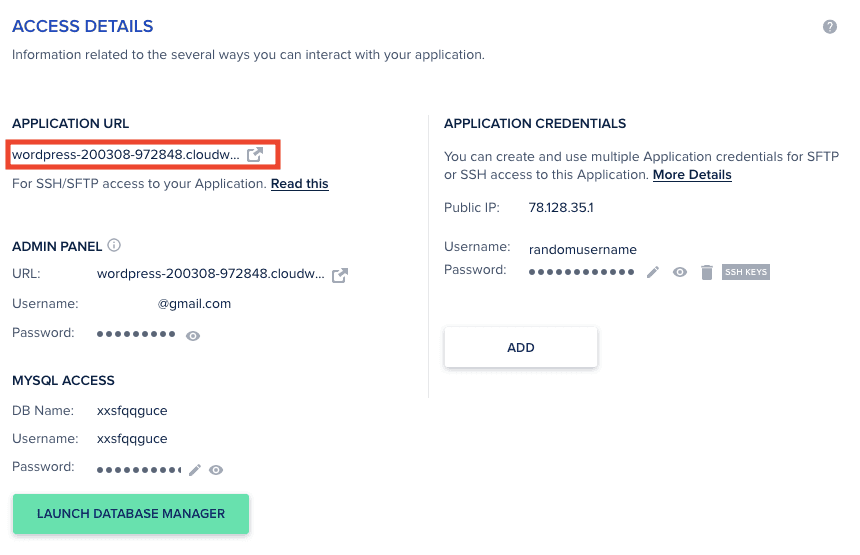
If you don’t already have a domain name, you can buy one from any registrar: I recommend Namesilo (use coupon SAVE10 for $1 off) and NameCheap (latest coupons here) for cheap, reliable .COM registration with free WHOIS privacy.
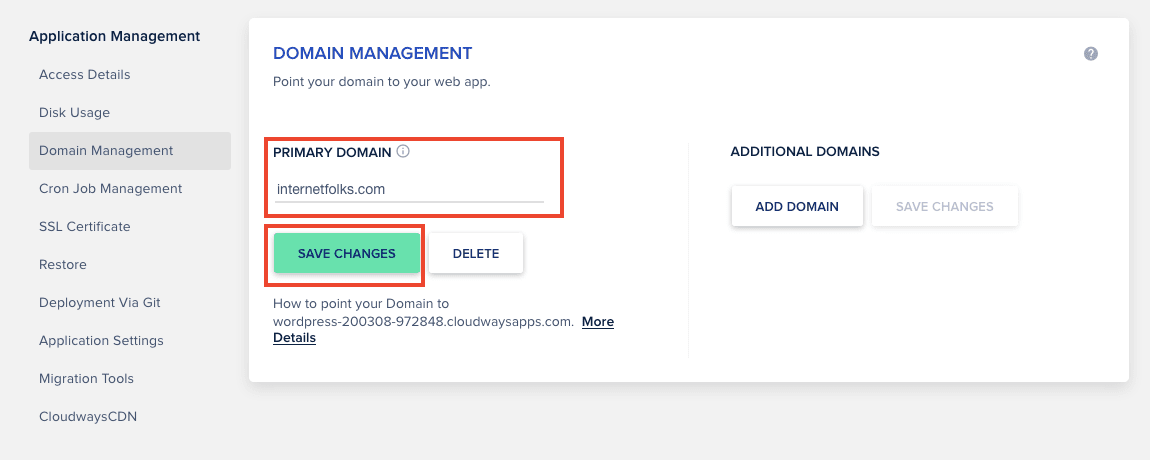
Once you’re ready to point a custom domain name to your new WordPress installation, go to Application Management > Domain Management and add your domain name in the field named “Primary Domain” and click “Save Changes”.
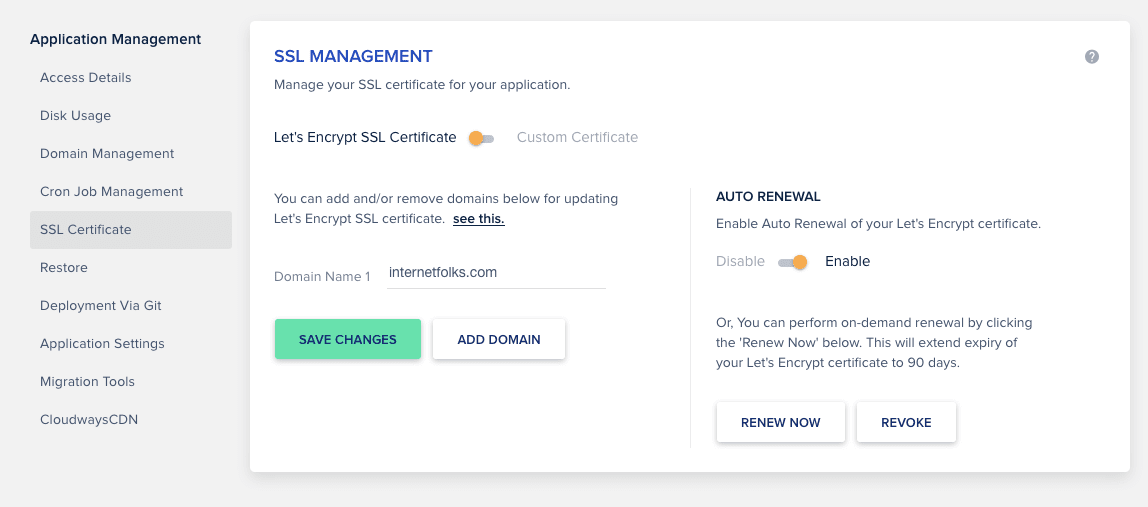
Add your free Let’s Encrypt SSL certificate in Application Management > SSL Certificate and enable auto renewal to keep it active.
Step 4: Setup DNS
The final step is to setup a DNS record to correctly point your domain name to your Cloudways hosting server. I use Cloudflare to do this, but you can also easily achieve the same results by setting up an A record at your domain name registrar (where you registered your domain name).
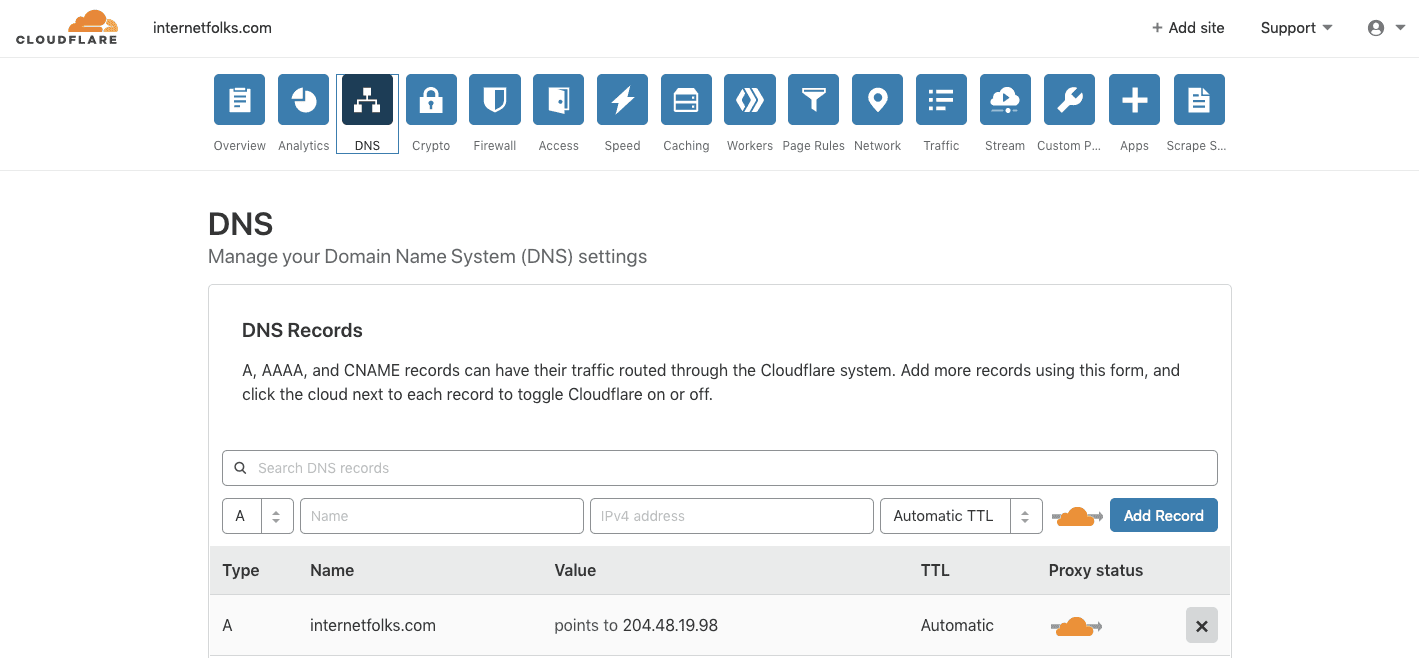
Get a free Cloudflare account if you don’t already have one and follow the setup instructions to add your domain name.
Create a new A record with the name of your domain, and enter the Public IP address from the Cloudways application settings, under Access Details > Application Credentials > Public IP.
Go to your domain name and you should now see your new WordPress website up and running. You can login to the WordPress dashboard using the username and password in the Cloudways admin panel, and change them as required via the WordPress dashboard.
Final thoughts
For a longer rundown of what Cloudways hosting offers WordPress site owners, read my in-depth Cloudways review. If you want to see how Cloudways compares to other cloud hosting options, check out my comparisons of Cloudways vs ServerPilot and Cloudways vs RunCloud.
Here’s how to migrate your WordPress website to RunCloud (and DigitalOcean), so you can see how it differs from Cloudways (it’s a very similar process, but RunCloud doesn’t offer a WordPress migration plugin like Cloudways does).

